Showing posts with label ornaments. Show all posts

Saturday, December 09, 2023

December happenings so far

 It's only December 9, and lots of holly-jolly happenings have already transpired around here, with many more still in the plans.

Let's see.  I really should go back to November 30, when we met friends for breakfast at Polly's Pancake Parlor.    I'm sort of counting that as December, since Polly's was already decorated for Christmas, and we've never been there in this season before.  The outdoor decorations were fun.  I didn't get photos of the food, but that was fantastic.


After leaving Polly's, we followed our friends to their home in Vermont, where we went for a nice winter walk.  The scene below is from our friends' back yard.  I took this as I stood on their back deck.


We were able to park on the road that leads to this farm.  It's a nice walking route, with just enough ups and downs to make it interesting and not over challenging. 

Here is the barn up close.  It was built in 1944 and is named Hillside Farm.

December 1 we met up with different friends at The Bacon Barn for breakfast.  This diner was new to us and also to our friends.  We ordinarily would not have planned back-to-back breakfast outings, but this one had been planned for weeks, working around the schedules of several people, while the Polly's meet-up was relatively spontaneous.  The food at The Bacon Barn was delicious and we would eat there again, but it was unfortunate we had just been to Polly's the day before.  The quality difference was observable.

Also on December 1 was a lovely gathering of our church ladies' group.  One of the ladies hosted in her beautiful dining room complete with crackling fireplace.  We enjoyed a wonderful lasagna meal, had a Christmas devotional time, and exchanged gifts and cookies.  The tray below was part of the gift I received, laden with Christmasy treats and snacks.  My friend knew we are trying to downsize, so chose a consumable gift for the most part.  I love this tray, though!

December 2 was a Christmas party with my hubby's former work crew.  He brought a cookie tray just like this one:

December 3, in addition to church, we enjoyed a lovely community Christmas concert at the historical society in a nearby town.  The weather was not the best -- raining and snowing -- but it was doable and we were so glad we did.  Our granddaughter is part of a youth orchestra that played several numbers, and there were other musical groups as well in addition to singing Christmas carols as a group.


 Let's see, on December 4th through the 7th we did a lot of Christmas preparations, especially baking.  My hubby has baked steadily for a week.  I also did some decorating.  On the 7th we set up the tree and got the lights in place.

On December 8 we had a fun plan with four of our grandkids for breakfast, cooked and served here.  After breakfast the plan was to maybe do a little candy making, a little crafting, a little tree decorating, before going out for make-your-own ice cream sundaes.   Grandson Sam helped Mr. T get the ornament boxes out of the attic and also did a bit of decorating with us before he jumped into crafting with the others.  

I didn't have specific crafts for them to do, but simply dragged out several boxes of Christmas craft materials.  The creativity that went on was simply astounding.  I didn't get photos of their creations, but there was everything from an amazing yarn-covered tree made from a paper roll to a tiny chest of drawers with little brass handles, made from three teensy matchboxes and brass wire.  And many, many other fun and beautiful ornaments.  It looked as if a craft store had exploded.  But so did the creativity!

Oh wait -- I did get a photo of a couple ornaments -- I had bought these at Walmart intending to trim a Christmas gift basket with one of them.  And I did.  Two said "Merry Christmas" and the others were intended to say "Holly Jolly".  Instead, they read "Holy Jolly."  I thought Josiah could probably transform them, as indeed he did.  They are the ones with beads on the hangers.  Check out the details on the one below left!


 And then I took a photo of the one and only ornament I made, one I've been wanting to make for years.

No candy making ever did get done, and we didn't leave for ice cream until 4 pm.  So lots of snacking on breakfast leftovers, crackers and cheese, and Christmas cookies, took place during the crafting time.

At top you see Ari with her ice cream sundae, and also Grampa's and mine.  The one below belongs to Miss Julia.

What a fun day it was!

And that brings us up to date on December so far! 

Friday, December 16, 2022

Making Christmas ornaments through the years


I adapted this from a post I wrote for my Christmas blog back in 2009.  No one ever commented on it, so I'm not even sure if anyone even read it!  I've been thinking this season about how much joy it has always brought me to make handmade ornaments and -- as I write this post on Thursday morning -- I am looking forward to an afternoon spent crafting at my daughter's home.  I will post about the projects we did, but not today.

 I simply love crafting Christmas ornaments. I've been making them for years. One ornament particularly stands out in my mind. I crafted it from felt years ago from a pattern in, I think, a McCall's Christmas Make-It Ideas. The ornament was several circles of varying sizes and then a bell, with separate clapper, strung vertically on a thread. It was pink -- not the best color for a Christmas ornament, I'm thinking now -- but how I labored over that creation. Each piece was cut twice, and then the thread sandwiched in between the two, which were glued together. The effect was like that of a mobile, in that the circles, bell, and clapper swayed and turned on the thread in the air currents in the room. I made this project when my children were very young -- mostly sitting on the floor to work on it while they played around me -- and as I recall it took me an entire day. Another project I did back in those days was crocheted ornaments I found the pattern for in a newspaper. A Christmas tree was one of the designs I made. These were crocheted from dark green yarn and then colorful French knots were added for lights.


As my kids grew older, I was always on the lookout for ornaments they could make. For a few years I taught art at a Christian school, and made countless ornaments with the students there at the Christmas season. In later years I made many ornaments for an annual October craft fair at my daughters' school. It was always fun, as Christmas drew near, to look at my stash of Christmas magazines, as well as the new issues, to decide what ornaments I might make. Oh, the fun of sending off to Home-Sew for the makings for some of these -- Christmas ribbons, cords, laces and trims! It was truly a special and wonderful part of my Christmas season.  The paper twist angel at center below was one of those I made for the craft fair.


As the years went by and I had more time, I made more complicated ornaments.  The embroidered mouse, below, was a gift to my mother one year.


One year I made photo ornaments for extended family members using vintage photos.
For a number of years my two oldest granddaughters spent a lot of time at our home, so once again in December I pulled out the craft supplies and the Christmas ideas.  The yo-yo wreath at the top of the post was made by one of the girls.  The candy cane below was also one of their creations.


Now I often look back on ornaments I have made and wish to make more of them; few things bring me more joy than working on such projects at my little crafting desk. But there's never enough time, and my desk is piled high with other priorities. This year, I plan to work on ornaments all year round. One project I hope to do this week is to sit down and plan what ornaments I will make and to locate all the patterns and instructions. Then I will take note of any materials I might need to buy. I believe I can probably make a good many ornaments just with materials I already have on hand. How inspiring that thought is!

That was my plan in 2009.  We will see how I do in 2023!

Saturday, December 18, 2021

A December evening at our little camp


 Yes, you read that right.  In mid-December, we were able to spend the night at our largely uninsulated camp.   This is not something we would have believed to be possible.  We've added insulation to the walls and ceiling in this large room, but as I've explained before, there is no insulation under the floor and no insulation at all in the other two rooms.  The thought of staying there in winter is just not appealing.  But we were having a warm spell and the forecast was for temps in the 40s overnight.  So we decided to give it a try!

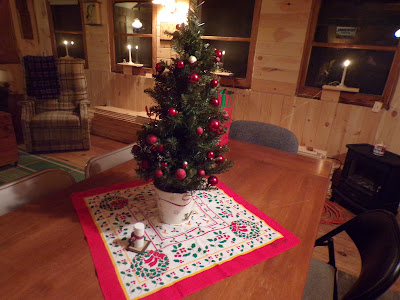
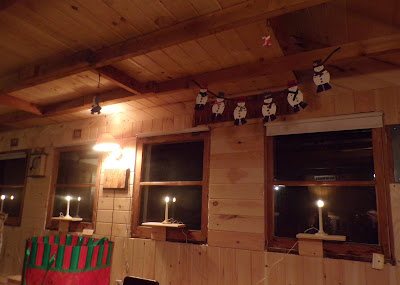
I was glad we had already done a little bit of decorating a week or so ago.  This little tree has seen better days (it's one we'd purchased for my parents many years ago) but it does lend a festive air to the living room.  You can also see in the photo at top that we sort of have candles in the windows.  These windows have no trim or windowsills as yet, and when they do the sills are likely not to work with this sort of candle.  But Mr. T was undaunted (because he really wanted to have candles in the windows) and he created temporary little shelves to place the candles on.

I made the snowman garland years ago.   Haven't displayed it for a long time.  Bag in foreground contains all of my Christmas card paraphernalia.  I actually got a few written!

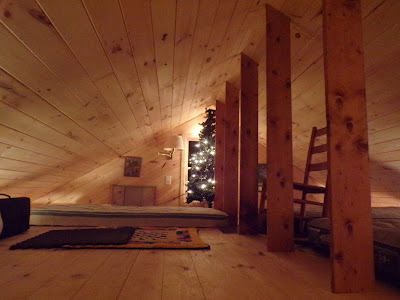
A peek at the cozy loft

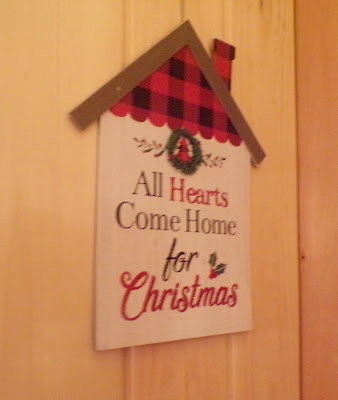
Found this sweet sign at Dollar Tree

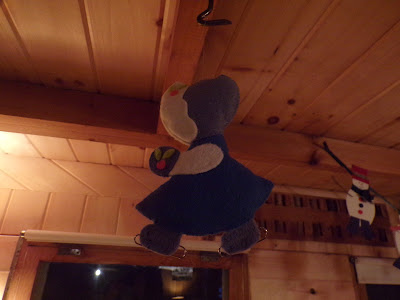
Cute felt skater has paper clips for skates!  Granddaughter Julia had the idea of hanging ornaments from all of the hooks that hold the windows open in summer.

This ornament was purchased from Etsy seller Marjorie at Treasures with a Twist!

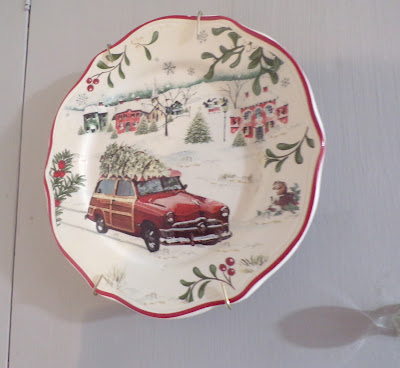
I have two of these plates, so brought one to the camp to display on a cabinet door.

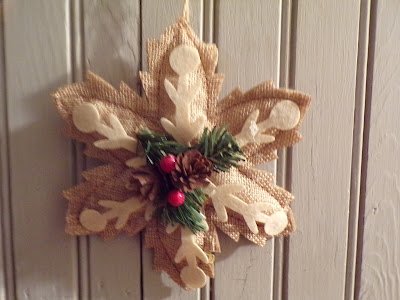
Snowflake ornament on a kitchen cabinet door

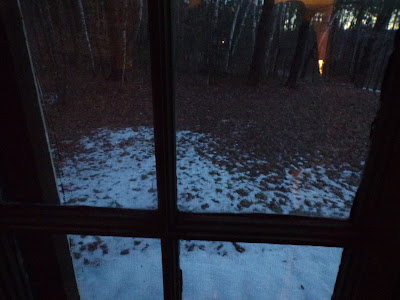
This shot out the bathroom window shows there really is a little bit of snow on the ground.

And that's our Christmasy camp.  Can't help but love it!

Saturday, December 11, 2021

Pastel Christmas sweetness


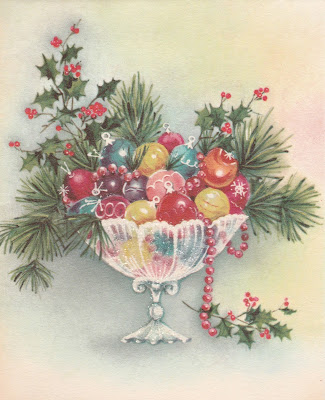
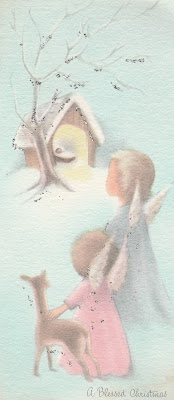
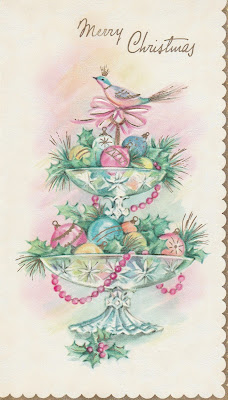
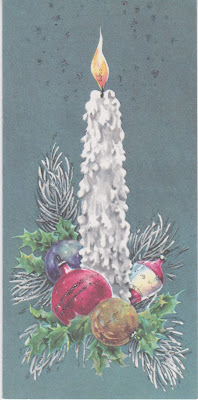
 If you've ever done much looking at vintage Christmas cards (as I definitely have, because of my Etsy shop), you know that at intervals over the years pastel colors have often been very popular at Christmas time.  I know I've written a little about this in the past on my other blog, back when I only owned a couple of cards in this category.

I tend to prefer traditional colors of red and green in my own Christmas decorating, though I have decorated with different themes over the years and have at different times had more "country" or "woodsy" colors in the living room, where they fit better, or used white, mauve and green on a Victorian themed tree I once had in our bedroom.  I love an eclectic tree with all kinds of different colors for our main Christmas tree.  

But as I've looked at and handled the lovely pastel cards of yesteryear,  I must admit to having fallen in love with some of them, the one at the top of the post in particular.  Pastels are so pretty with holly, pine sprigs, and mistletoe.  I'm just going to post some of the scans of my cards and add brief captions.

Angels and manger in pastels

Pastel bell swag

Pastel ornaments in a crystal dish

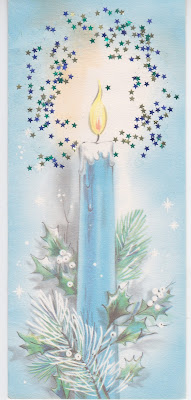
Oh, what a pretty candle and arrangment!

Pastel blue candle with glitter

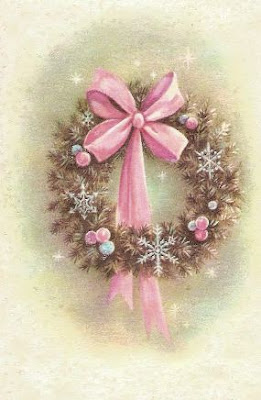
Love this wreath with snowflakes

I hope you've enjoyed this look at some of yesterday's pastel Christmas cards.


Friday, January 01, 2021

Happy New Year! (And some of my simple Christmas decorating)


Wow, it's a brand new year!  Although I know that many people think of 2020 as a truly horrible year, I really can't look at it that way because every day of it was a day of life, a day that God allowed.  I will say that I am happy it has ended.  There were many difficult days in 2020, but God was there for every one of them, as He will be for every day that He allows in 2021.  I'm looking forward with hope and optimism to how He will work in the days ahead.  Like many of you, I'm praying hard for our country while moving forward prayerfully with plans, goals and dreams for the new year.  It will be interesting to watch God work.

Now, let's move on (or maybe it should be back) with a look at some of my Christmas decorating for 2020.  It was quite simple, but I tweaked a few things this year and had fun with it.

 See my vintage Santa mug at the center of the top shelf?  I found a box of six of them in the clean-out at my childhood home.  I believe them to be the Santa mugs that were used at the "kids' table" at the farmhouse Christmases of my childhood.  How to divide these?  My mother had five siblings and each had a family.  I solved the division problem by giving one mug to the oldest cousin in each family.  

Oh, and that tiny red truck and camper was a Dollar Tree find.  It was too cute to pass up.

I'll show you a few more tweaks as we go along.

Above is our tree, new for this year.  We've seldom added a star, but this one, found at an after-Christmas sale in some previous year, was perfect for the size of this tree.  We got the tree at Ocean State Job Lot, essentially free because we got a Crazy Deals gift card for the entire amount of the purchase.  This in turn funded our shopping spree there with the grandkids.  My hubby was very pleased with how this tree went together; it was well marked and quite easy to assemble.
This gorgeous Eloise Wilkin Christmas illustration had been framed and gifted to my mother, who so enjoyed her art.  This year it's on our living room wall.
Not sure if we even taped up incoming Christmas cards in our hallway last year.  This year, my now-retired hubby took charge of the project.

Below is something new that I added this year.  I've had this free "chalkboard" art for awhile and I think I framed it one year.  (I have a folder full of printed out artwork and just rotate it in and out of frames seasonally.)  

This year I thought it would be fun to hang some "brightly shining" stars above it.  I made these nearly two decades ago and had so much fun doing it.  Basically, you cut shapes like snowflakes, stars, or whatever you like out of watercolor paper.  It needs to be a good heavy paper.  Then you brush one side of each shape with a white glue and water mixture and sprinkle heavily with clear glitter.  When it's dry, you turn it over and do the other side the same way.  The tops of the ornaments, when completely dry, can be pierced with a needle and white or silver thread to knot for a hanger.  Here's the link if you want to try making some:  Winter White Glitter Ornaments . 

I am surprised but pleased that these ornaments have held up so well over time.  I keep them in a zip-top plastic bag inside of a box in the attic, where temperatures are variable and things tend to get damp because of the cold winters.  Yet these ornaments look just as nice now as the day I made them.

I made the cross-stitch sampler below several years ago.  I tucked the burlap snowflake (a gift from a previous Christmas) alongside it this year.
The antique soup tureen on the bottom shelf of the hutch is a family heirloom.  You can read more about it, and the rest of the set, here: Those black and white dishes, if you are interested.  I've added a tapestry placemat, a Christmas milk bottle and cookie recipe, a vintage cardinal salt shaker, a vintage jadeite mug, and a Christmas game.
Below, a closer look at the milk bottle corner.
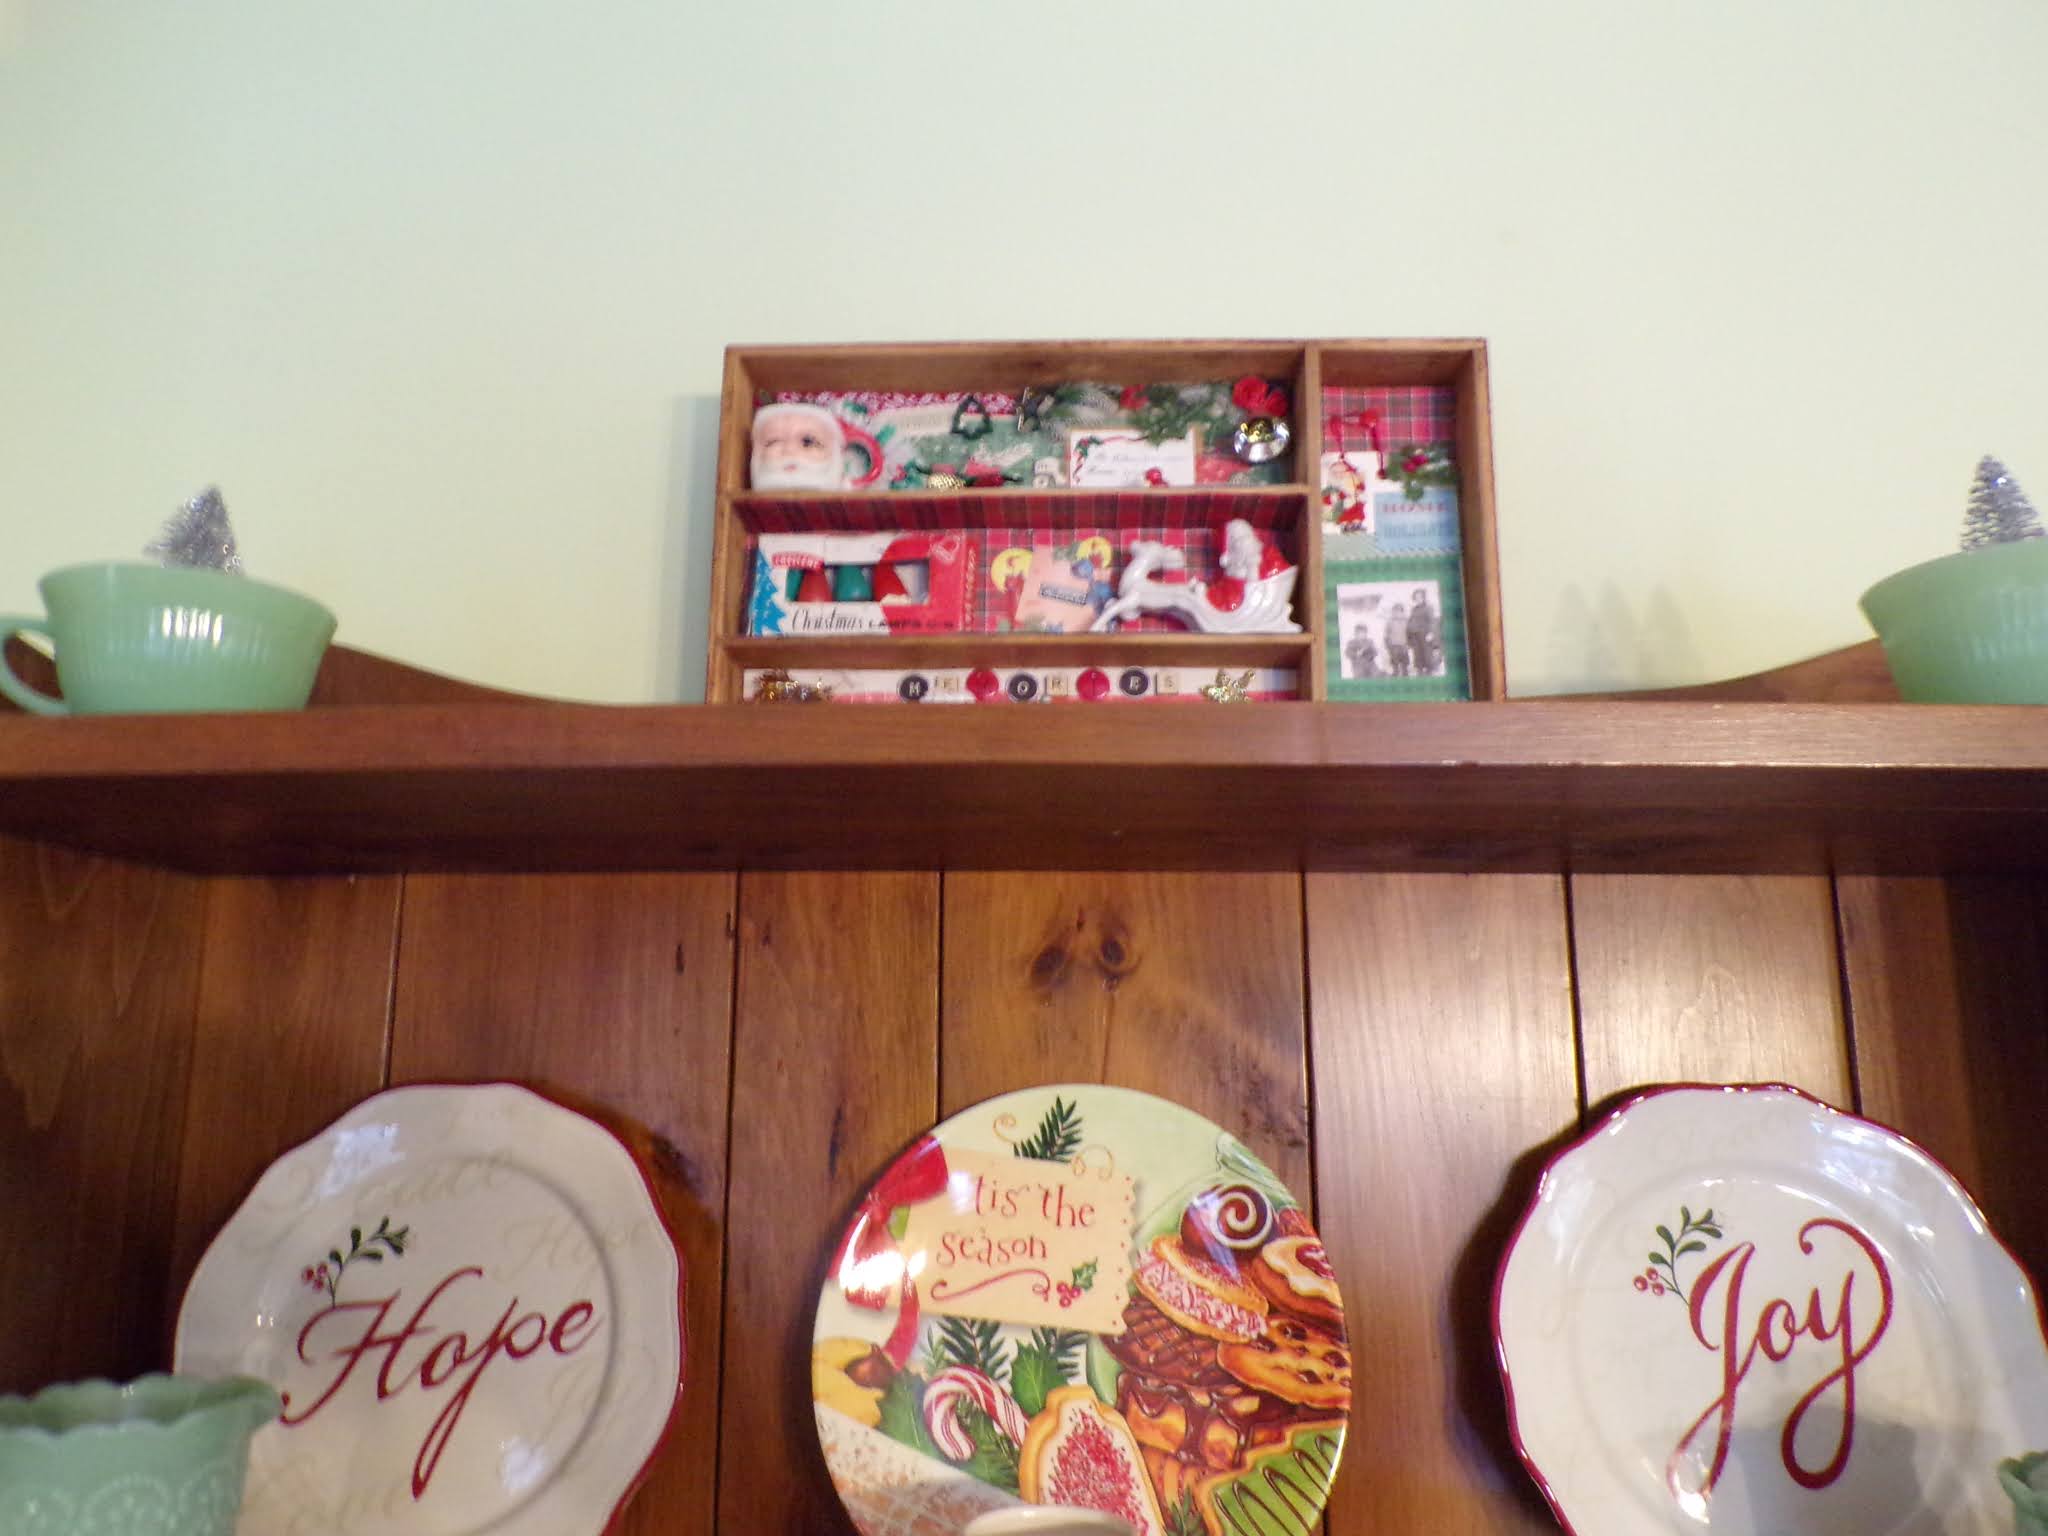
Below, you can see my Christmas shadow box on the tip-top shelf of the hutch.  Usually I put a couple of Christmasy candles in holders on this shelf, too, but this year I left my jadeite teacups in place and stuck a silver bottle brush tree in each one.  Another 2020 tweak ...
Here you see two shelves in pretty much their entirety. 
Closer look at the middle shelf.  Love that vintage toy truck that I found in clearing out the old homestead!  The two caroling teddy bears have been around since my  kids' childhood.
Closer look at the tureen and tapestry placemat.
The Nativity scene is in a different place this year.  I usually put it on the cedar chest which we move to make room for the Christmas tree.  It's a more roomy surface, but I felt that placing it on this bookcase (which is new to us) put it more at eye level and thus made it more visible, as it indeed should be.
You see below the simple message "Hope in God"  which has been on our front-door chalkboard since March. At that time I had added sprigs of silk forsythia. In summer I kept the message the same and added some daisies and American flags; in fall, some red leaves and yellow mums in addition to the flags.  I've kept the same chalkboard message all of these months since it is really the most important message I can put there.

In early December I augmented the silk ivy with some pine and fir sprigs from around our yard.  I added some faux red berries and stuck in a couple of gold snowflakes, keeping some American flags in place as well.  It's a little quirky I guess, but a look I really like.

Yes -- it's been a simple decorating year, but also one in which I got a great deal of enjoyment out of our decorating.  I've loved seeing others enjoy it too.  Happy New Year, everyone!