
Today's special feature is a simple ribbon board to display Christmas cards and other paper treasures.
As I've mentioned, I have a nice collection of vintage and antique Christmas cards, all given to me over the years -- oddly enough, by people who knew I used old Christmas cards in art projects with children in school and Sunday School. Many of these cards probably have no real value -- some of them have the backs removed, and many have had the signatures cut out. But they are valuable to me because they are so beautiful. For years I wanted to display them, but couldn't think how -- I didn't want to damage them further with tape or tacks or staples. I inherited a nice glass-topped desk, and displayed some of the cards under the glass. But I still wished I could display more of them -- to me, no matter how lovely a collection may be, if its beauty can't be shared with others, it's really not worth having. I know people who have treasures like this squirreled away in shoeboxes, and it's absolutely ridiculous because no one -- including the owner of the collection -- can enjoy them there.

So I came up with the idea of using a large ribbon board to display my vintage card collection. I made a very, very simple one, and it has worked well for quite a few holiday seasons now. I took a full sheet of foam core board and covered it with fabric. (You could use a holiday fabric, but I felt that a solid color would be the best background for the colorful variety of my cards, so I chose a plain dark green fabric.) Very simply, I cut the fabric a couple of inches larger than the board all around, placed the board face down on the fabric, neatly wrapped the excess fabric to the back of the board, and hot-glued it in place. To hang the board, I made a loop of festive red/green holiday cord, and hot-glued that to the back as well.
Next, I took lengths of red satin ribbon and tacked them diagonally across the board one way and then the other, gluing the ends of the ribbon to the back of the board. At the places on the front where the ribbons intersected, I used shiny brass tacks to hold the ribbons in place. All those ribbons made nice secure spaces in which to tuck my cards. I hung the board in my front entryway and it holds a great many of the cards in my collection -- the vintage cards are much smaller than the cards we send today. This card-filled ribbon board makes me happy every time I walk by it!
In fact, the idea worked so well for me that I made a second ribbon board in neutral colors -- using unbleached muslin for the fabric and ivory ribbon -- to hold the paper treasures I've collected for other seasons as well.
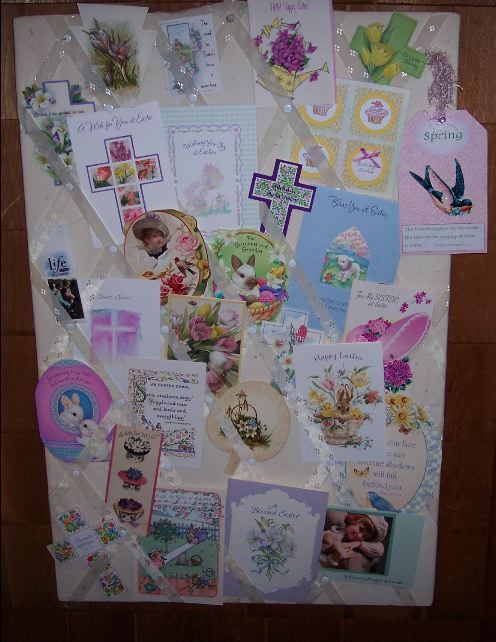 |
| Easter ribbon board |
 |
| ribbon board for fall |
I know that ribbon boards are not a new idea, but I haven't seen any just like mine. I hope someone else will try this idea for a special collection of treasured paper items!


Oh thank you Mrs. T for posting this! I keep admiring your ribbon boards! I hope to get a chance to try making one!
ReplyDeleteGreat ideas, all of them! I'm the type to squirrel things away for posterity knowing full well that when I go, my family more than likely will just pitch the whole thing! It's sentimental to me. I need to find what I can gather in 'like' catagories and start displaying ...thank you.
ReplyDeleteLadies, thank you for stopping by! I am glad these ideas are helpful to you, and I hope that you both make a ribbon board (or two) and enjoy using them.
ReplyDeleteFree indeed, it is easier than you might think to fill up a ribbon board. If you don't have enough items in a particular category, you can fill in with things like silk leaves or flowers, gift tags, ticket stubs, small ornaments, even jewelry. Have fun and enjoy displaying your treasures!